


1.Ensure threaded end of valve body is clean and free of any debris
2. .jpg) Place end of locking bracket over end of outlet valve.
Place end of locking bracket over end of outlet valve.
3. Tighten the CGA fitting finger tight. The formed square section of the locking bracket must be guided to slide over the valve body.
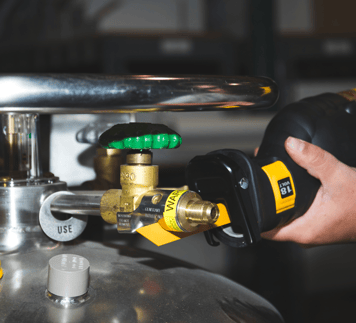
.jpg?width=367&name=tpginstalstep2%20(1%20of%201).jpg) 4. Insert an Allen wrench into the center of the CGA fitting and tighten the connection into the valve body thereby pulling the locking bracket over the valve body.
4. Insert an Allen wrench into the center of the CGA fitting and tighten the connection into the valve body thereby pulling the locking bracket over the valve body.
5. The connection is installed and ready for safe use
6. If desired, pressurize connection and spray a liquid leak detector into the sight windows and look for leaks.
How to Porperly Remove a TPG
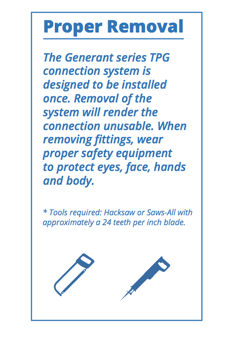
- Place blade on the saw in between the end of the bracket and the fitting body. Cut down completely though the fitting body. The gap will act as a guide for the blade.
2. Grasp the locking bracket and pull straight out over the remaining fitting stud. If necessary, gently tap the bracket off with a hammer. The clutch mechanism will fall apart allowing the locking bracket to be removed.
3. Place a pip wrench on the remaining stud and remove the partial fitting, leaving the thread of the valve body intact for replacement with the TPG device.
4. The CGA fitting, locking bracket and clutch mechanism will be completely unusable.
